
From noticing a build-up of grease and grime, to an overflow of smoke in the kitchen, a dirty range hood filter causes disruptions. However, we know that cleaning a range hood is not at the top of the list of priorities. Making it an easy problem to overlook within your day-to-day life. However, by ensuring the right maintenance you can prevent these dirty filters.
See our easy guide for hood filter cleaning:
Why Range Hood Filter Cleaning is Key
If you’re reading this, chances are you recognise that filter cleaning is important. But why? The range hood is responsible for the removal of many impurities, like gas, odours and steam. Preventing these from becoming widespread across the kitchen.
However, once the filters become clogged, this prevents the process from taking place. Instead, promote a hygienic environment and appliance with the right maintenance. As soon as you suspect issues with the filter, consider inspecting this for a clean.
Step-by-Step Guide: Cleaning a Range Hood Filter
Wondering whether cleaning your range hood filter is tricky? Rest assured, our expert guide is hassle-free. By following these steps regularly, it helps to ensure a functional and safe appliance in your kitchen. But before you begin, it’s important to have a few items on hand.
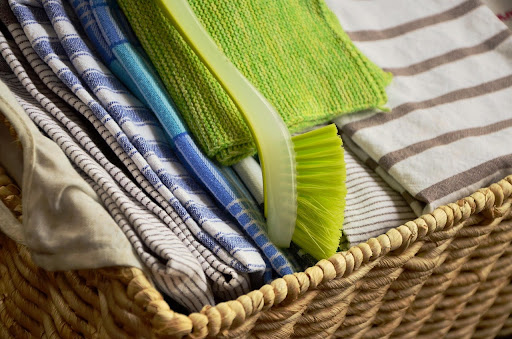
See the tools you need:
Your Filter Cleaning Toolkit
See how to clean the filters below:
1. Remove the Filters
When it comes to removing the filter, you need to look for a “Release tab.” This can be easily found underneath the hood. If you find that the range hood has clips, simply pinch these to release the filter. For loops or handles, tug at this and pull the filter in an upwards motion and then back towards you.
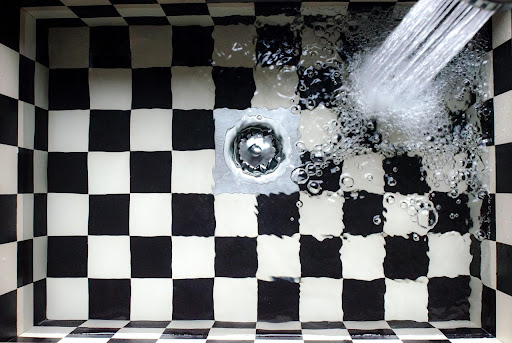
2. Soak the Filters in Water
First, prepare the sink by inserting the sink plugs into the drains. Then pour in your pre-prepared hot water, dish soap and baking soda. Once done, mix around using the dish brush with care! Remember to avoid contact with the water when doing so.
Gently place the filters in the sink and ensure these soak for 15-20 minutes. Remember, it’s important that this has a good soak to break down the grease and other impurities. (A tip from us is to set a timer.)
3. Dishwasher Cleaning
Your dishwasher can come in handy for more than just dishes. Give the filters a gentle scrub using a scourer or dish brush to clean off the grime. Once done, you’re ready to place these within the dishwasher.
a) Set your dishwasher setting to the hot cycle
b) Place the filter into the tabs to secure in place
c) Enjoy the newly cleaned range hood filters!
Hand-Cleaning (Alternative)
Don’t have a dishwasher? No worries. When you clean the filters by hand it can be just as effective. Given that the mesh filter is delicate, it’s important to use gentle scrubbing motions with either a scourer or dish brush.
When cleaning, use more dish soap and rinse as needed until you’re satisfied with the result.
4. Drying
Once you’ve given the filters a proper rinse, let them out to dry. Lay these out on a cloth or paper towel to ensure it dries thoroughly before re-insertion.
5. Re-Insert the Filter
Inserting the filter back into the range hood is simple. To do so, position the filter smoothly into the back edge of the hood. To ensure this is clasped securely, wait until you hear a lock or clicking noise. If you’re unsure, you can also refer to the manual.
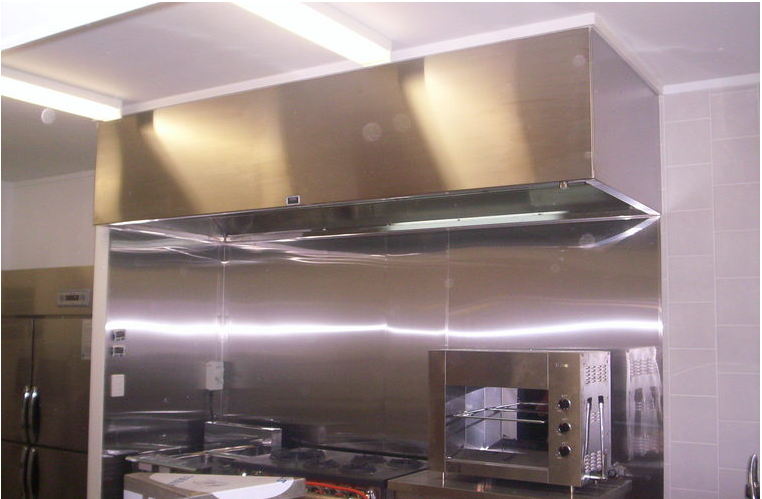
Commercial Range Hood Filters: Keep Your Kitchen Compliant
When dealing with a commercial range hood, it’s important to consider the premise type. This is because the filter must meet Australian standards. The level of maintenance often depends on how frequently the oven is used.
See how below:
- Low oven use: In some instances, the oven is hardly ever used. Which is why only yearly cleaning of the filters is needed. For spaces that don’t focus on serving food, this level of care is perfect.
- Moderate oven use: Normal use of your oven often means that the filter needs to be cleaned every quarter. This type of cleaning is meant for small cafes or even larger facilities.
- High oven use: With extremely frequent oven use, it’s important to do filter cleaning every week. This is typically applied to larger food establishments, like restaurants or bakeries.

Common Signs You Need to Inspect Your Range Hood Filter
When it comes to keeping this function working smoothly, the right care is key. It’s important to recognise the first signs of a faulty filter. This helps ensure that you can address the problem as soon as it arises. So you can have peace of mind.
Spot the signs of a faulty filter:
- A warning light on the range hood
- A build-up of grime and grease on walls or cabinetry
- Smoke while cooking when the range hood is on
- Cooking odours when the range hood is on
- Physical damage on the filter E.G bends, warping, holes
*Since these signs can be easy to overlook, we recommend a visual inspection every few weeks. This allows you to promptly identify any signs of damage, and a result, take action fast.
How to Spot a Dirty Vs Broken Range Hood Filter
A broken filter can appear the same as a dirty one, which is why it can be hard to detect. If you’ve followed all the steps above and are still experiencing issues, the filter is likely to be broken. In some instances, the range hood itself can also be dirty or outdated. In this case, it’s best to reach out to an expert for a professional inspection to be sure.
When You Suspect a Faulty Filter, Get in Touch With Us
For faulty range hoods, the kitchen filter itself isn’t the problem. This is where we at A1 Custom Stainless and Kitchens come in. We have extensive expertise in stainless steel commercial range hoods. If you need expert assistance or are considering a new range hood, you can rely on us.
Contact us here or at (07) 3888 7534!